How to Record Screen using Capcut?
Need to capture a funny moment on your screen, create a clear presentation for work, or record a software demo for colleagues? Traditional screen recording tools like OBS or Camtasia can leave you feeling more confused than a cat in a dog park.
Fortunately, the Capcut video editor has also solved this issue. This video editing app recently introduced a user-friendly screen recording feature. Thus, you can easily say goodbye to clunky interfaces and record your screen on any device.
In this guide, you will learn how to record and edit videos seamlessly like a pro.
So, Let’s Jump in!
Why Record Screen with Capcut?
CapCut’s screen recording feature allows you to record your presentations or important meetings with ease. It offers a seamless, user-friendly screen recording experience. And the best part? It’s as free as your spirit on a Friday night!
Sure, there are plenty of screen recording tools out there. But CapCut offers a unique advantage, especially for those who already utilize it for video editing:
“Simplicity and streamlined Workflow“
From tutorials that resonate with viewers to gameplay that keeps them coming back for more, CapCut ensures your content is not just seen, but remembered.
Steps for Recording Screen with Capcut
Recording your screen with CapCut is as easy as pie! Here’s a quick guide to get you started:
Step 1: Go to CapCut Website
First stop, the CapCut website! Sign up for a free account – it’s like a VIP pass to cloud storage for your recordings.
Feeling inspired? Pick a pre-made template to jumpstart your video, or start fresh with a blank canvas.
Step 2: Start Recording
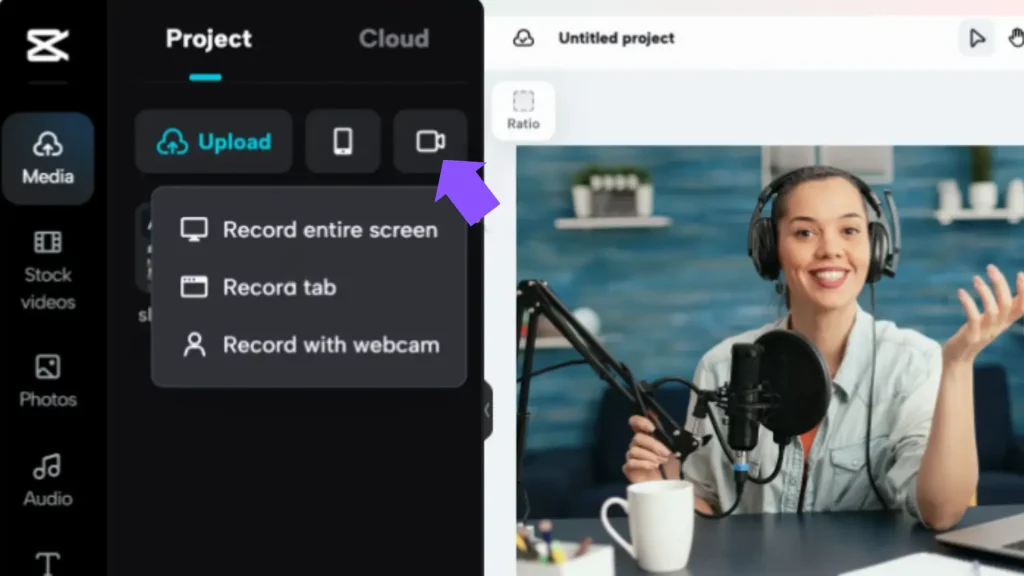
In the ‘Media’ section, find the ‘camera’ icon to start your screen recording. You can choose to record a single tab, your entire screen, or use your webcam. Just make sure CapCut has permission in your browser settings to record.
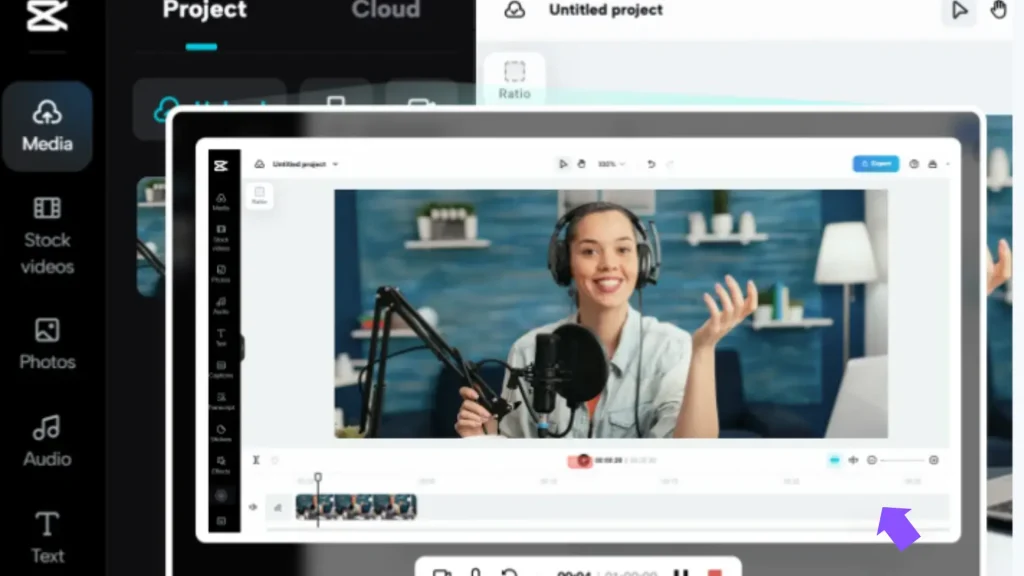
Step 3: Edit, Export, Share, and Shine!
Once you’ve recorded your screen, you can further enhance the overall quality by using CapCut’s editing tools. Feel free to add some text overlays, cool effects, or even music to spice things up!
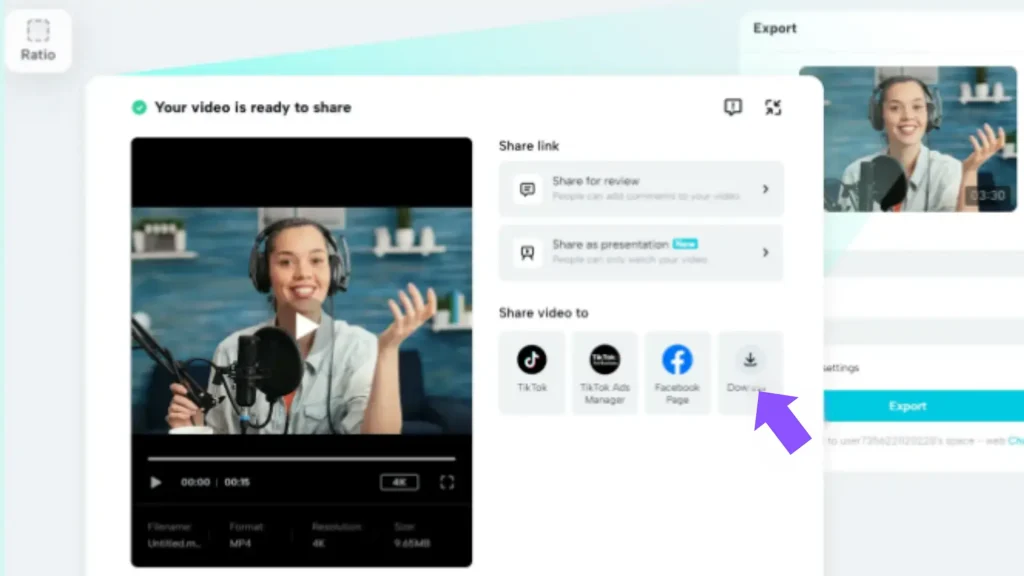
After completion, export it to your device or share it directly on social media, all watermark-free.
See? No complex maneuvers needed! Follow these steps, and you’ll be a CapCut screen recording pro before you know it. Now go forth and capture the amazing things happening on your screen!
Benefits of Recording Screen with Capcut
CapCut eliminates the hassle of exporting recordings and importing them into separate editing software. Record directly within CapCut, and seamlessly jump right into polishing your masterpiece with its intuitive editing tools.
Here’s what makes CapCut stand out for screen recording:
- Effortless editing: Trim unwanted sections, add text overlays, or incorporate music – all within the same app.
- No learning curve: Confusing interfaces and endless menus can be a nightmare. CapCut’s clean and intuitive design makes screen recording a breeze, even for beginners.
- Capture what matters: Whether it’s your entire screen, a specific application, or just a chosen area, CapCut gives you the flexibility to record exactly what you need.
- Professional-looking results: Crappy, pixelated recordings won’t impress anyone. CapCut ensures high-quality captures with stunning visuals, leaving a lasting impression on your audience.
- One-stop shop for content creation: CapCut streamlines your workflow by allowing you to capture, edit, and share your screen recordings all under one single application.
FAQ
Final Remark
CapCut bids farewell to the days when screen recording was as perplexing as a cat finding itself among a pack of dogs.
Now you can record those epic gaming moments, craft crystal-clear tutorials, or record flawless software demos with ease. Remember, CapCut’s magic lies in its simplicity – record, edit, and share, all within minutes.
So, what are you waiting for? Grab your phone, tablet, or computer, and start video recording!
